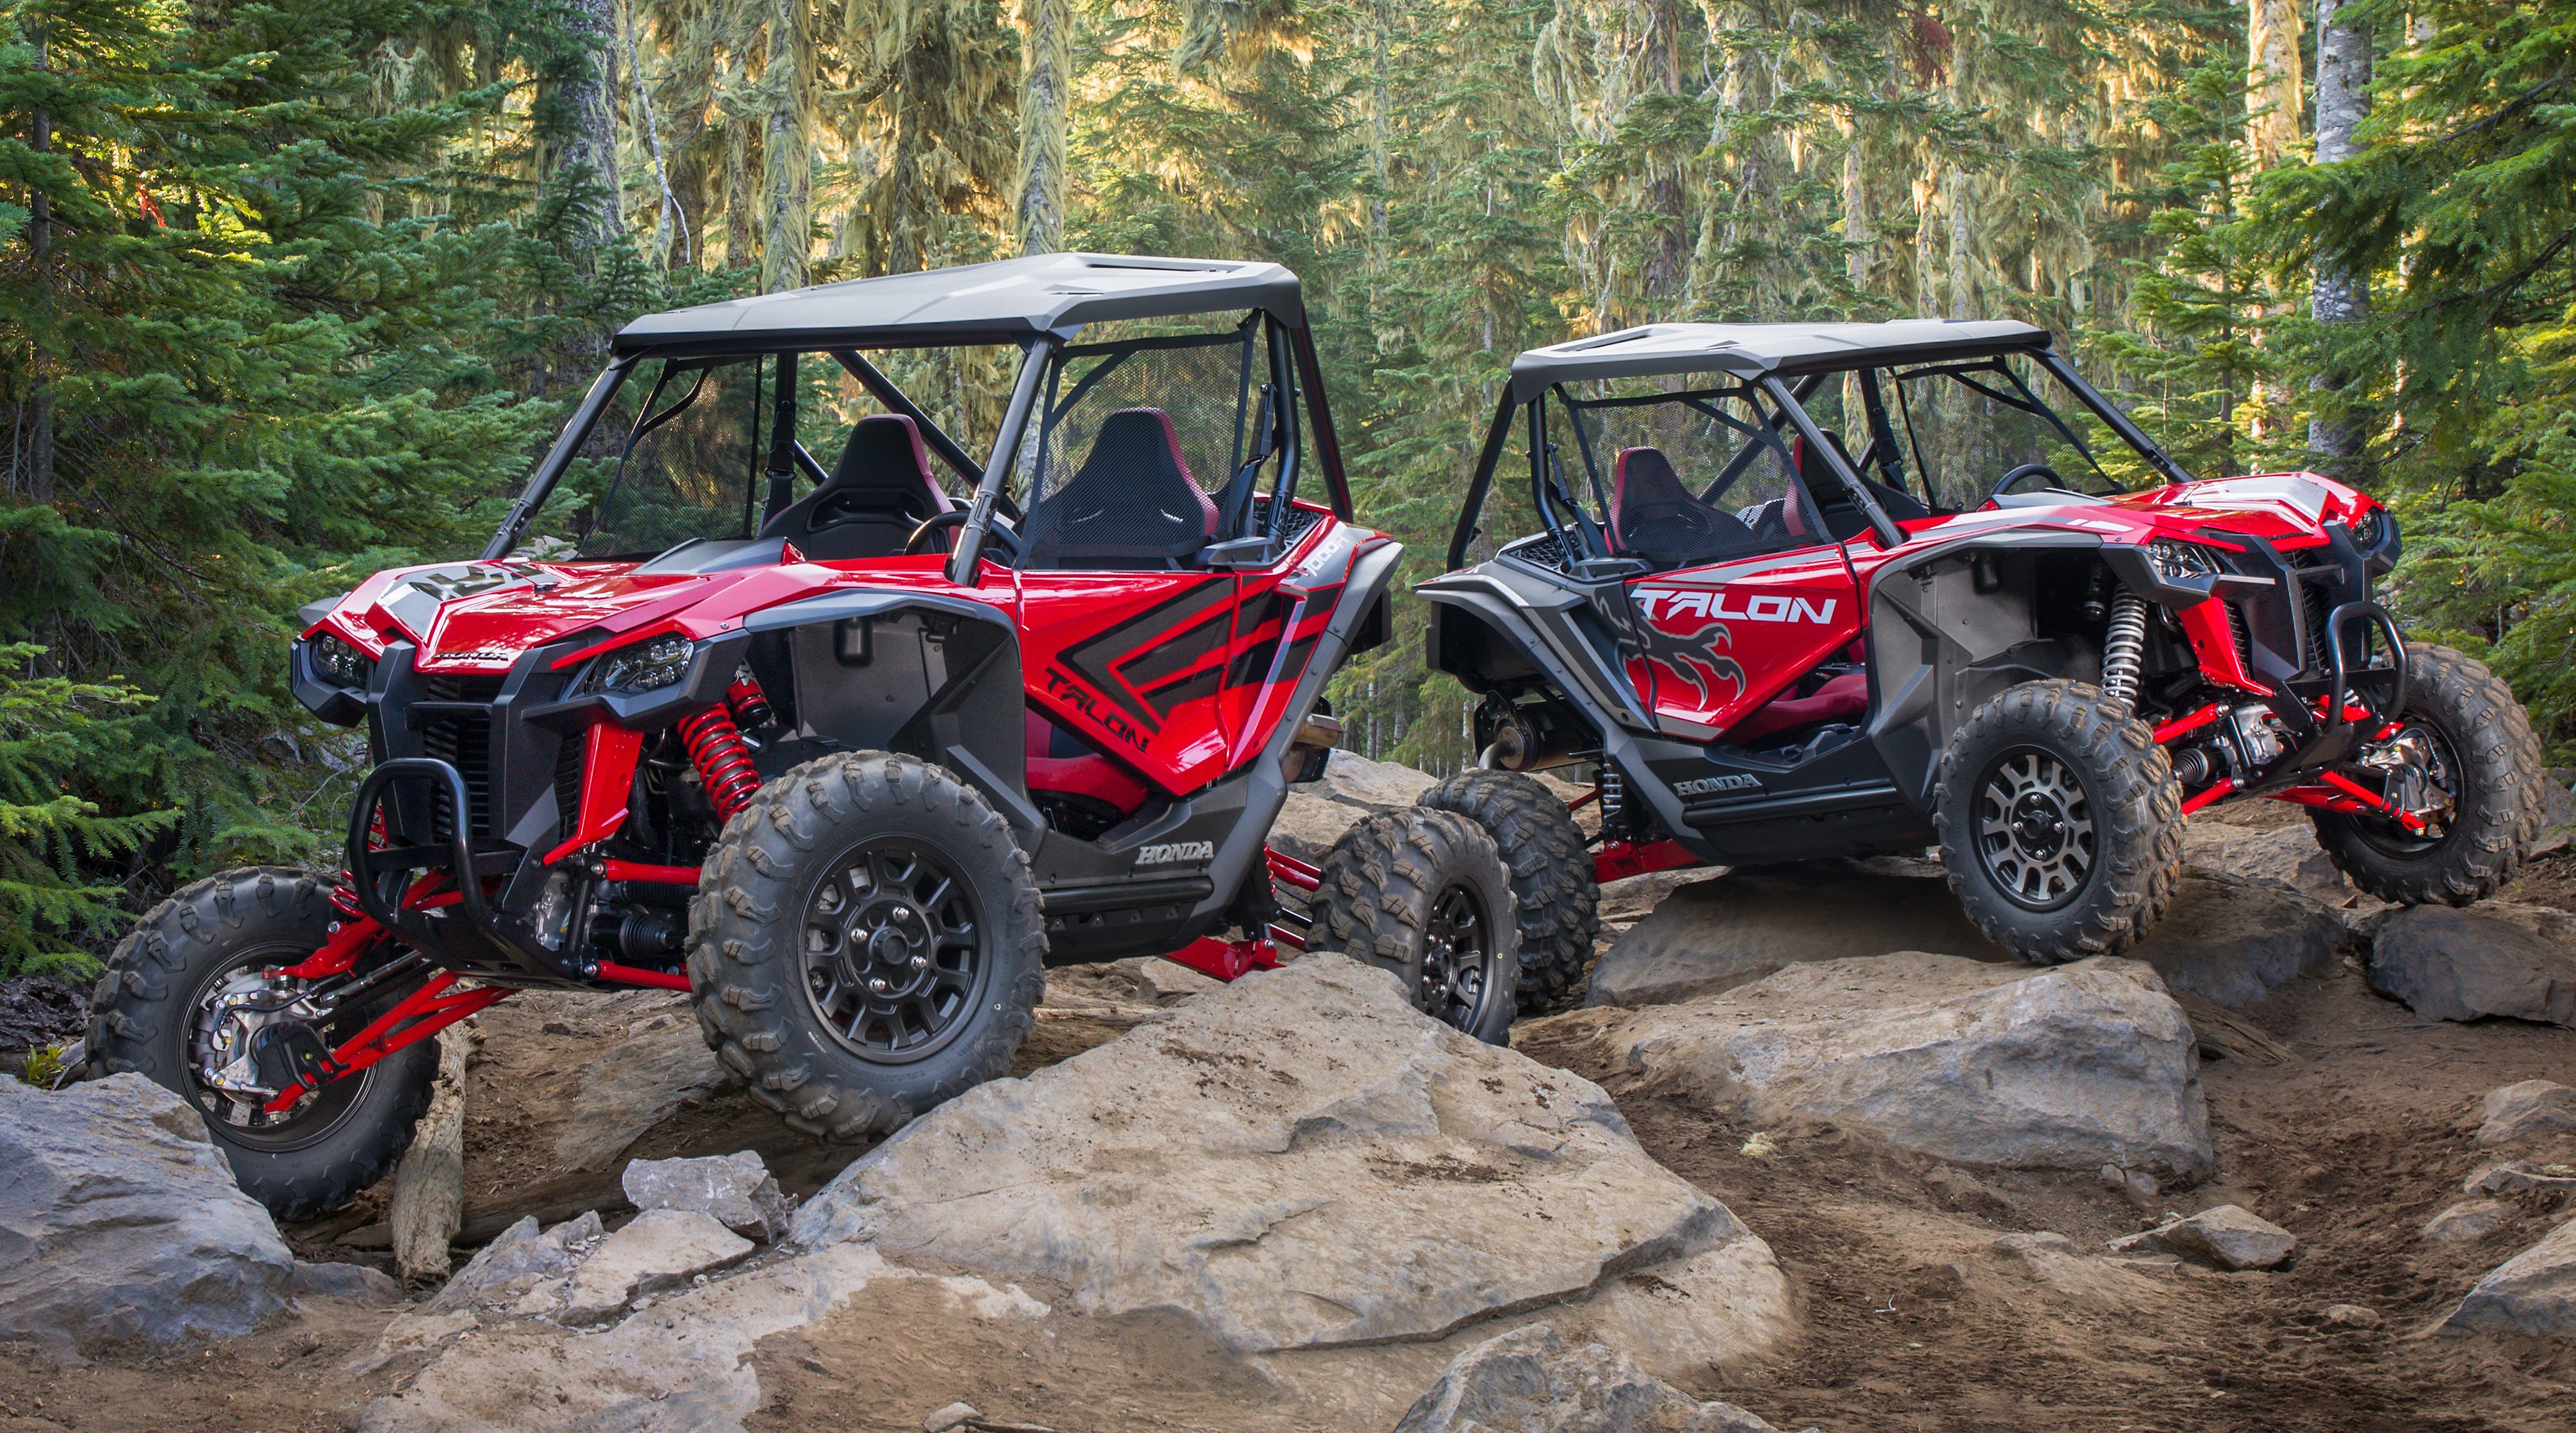
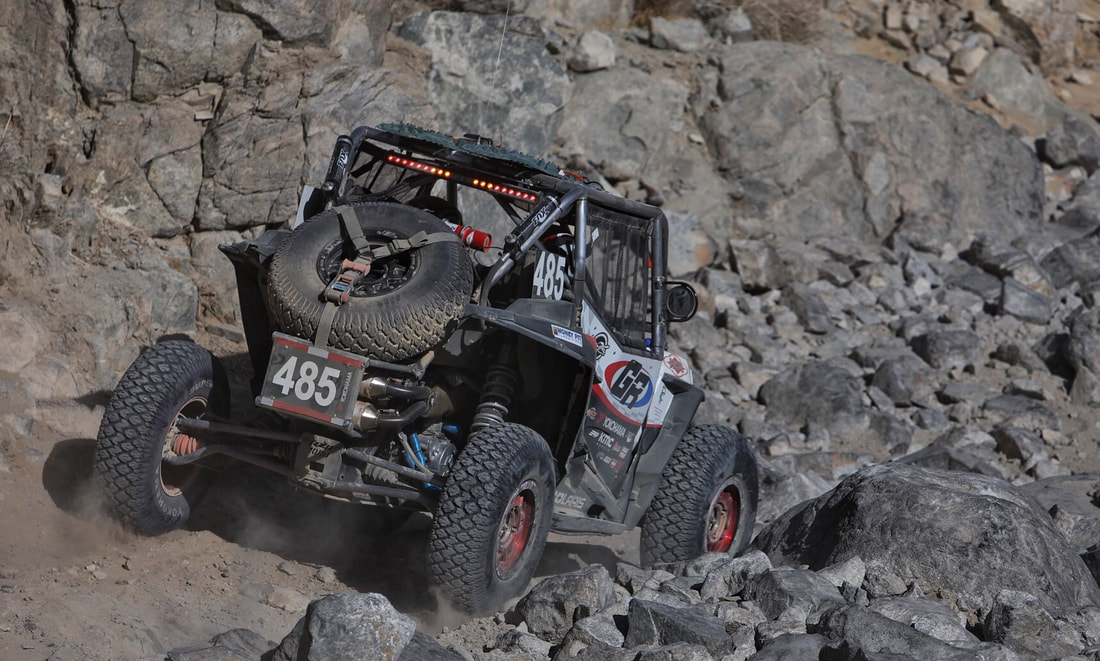
When adding bigger tires, heavy bumpers and lots of other accessories with added weight, owners of UTVs notice a decrease in performance in their machines. With the weight you add or the more rotating mass of bigger tires, it requires your RzR clutch system to work harder. This leads to belt slippage, higher belt temperatures and premature breakage of your belts. One of the most cost effective fixes is to install a clutch kit on your machine.
There are different clutch kits on the market depending on the year of your machine. All clutch kits come with different springs and weights. Some also come with a new helix which affects engine braking. Installation of a new clutch kit can be done in a couple of hours with the correct tools. We recommend at a minimum a primary clutch tool and a clutch compressor tool for this job.
The first step is to remove the primary and secondary from your RzR. Remove the clutch cover and move your shock out of the way by removing the lower bolt. You will need the primary clutch tool to remove the primary. The larger secondary can be removed by simply taking off the 15mm bolt holding it on.


Once you have removed your primary and secondary, it is time to take your parts to the work bench and disassemble them. They both have a high tension spring inside them, so the clutch compressor tool is an invaluable tool to have. First, on turn the secondary over so that you can access the back of it and tighten down the clutch compressor tool. The small torx bolts that you see on the back are easily stripped and are held on with locktite. It is very important that you pre-heat these bolts before attempting to remove them. Once you have taken out the bolts, release tension on the spring by backing off the clutch compressor tool and replace the stock spring with the new secondary spring provided with your clutch kit after removing the spider assembly by taking off the snap ring.


Once you have replaced the spring, assembly is the reverse of taking everything apart. Make sure that you noted the orientation of everything you took off. If your kit came with a new helix, it should be marked with an “X” that matches up with the “X” marked with your stock clutch. Be sure to locktite the torx bolts when you reassemble.
Next, it is time to move on to the primary. Once again, the primary is balanced from the factory, so you will want to make time to note or mark the orientation of the assembly. Place the primary onto the clutch compressor tool and remove the six bolts holding the primary cover in place.


Next you will want to remove the factory clutch weights. They are held on with allen head shoulder bolts and a nut for each. Use a 1/8″ allen head and a 3/8″ socket to remove the shoulder bolts and then pull the weights. Slide in the new weights and tighten each down with the new shoulder bolts.


Once you have all your new weights installed, it is time to put everything back together. You will be reusing the stock retainer bolts. Use locktite on each bolt, place the retainer plate over the spring and then use your clutch compressor to put pressure on the plate so that you can start and then tighten down each bolt. Once again, make sure you have everything orientated correctly so that your clutch isn’t thrown out of balance.


Reinstall your primary and secondary clutch back onto your machine and enjoy better throttle response, less belt slippage and longer belt life.


What if you took off the clutch without marking the alignment, how do you figure out which way it goes?