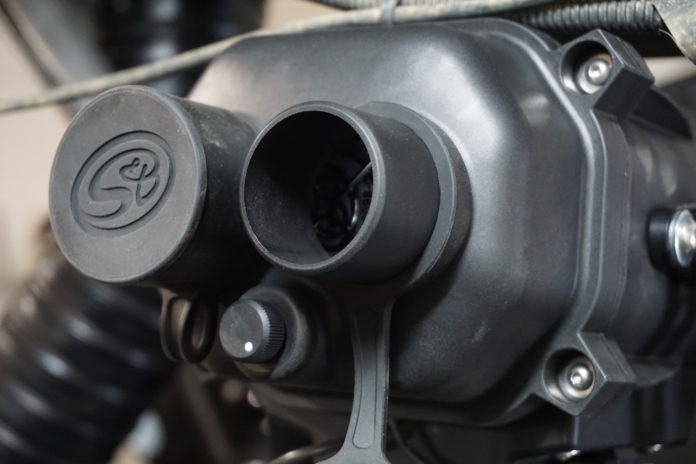
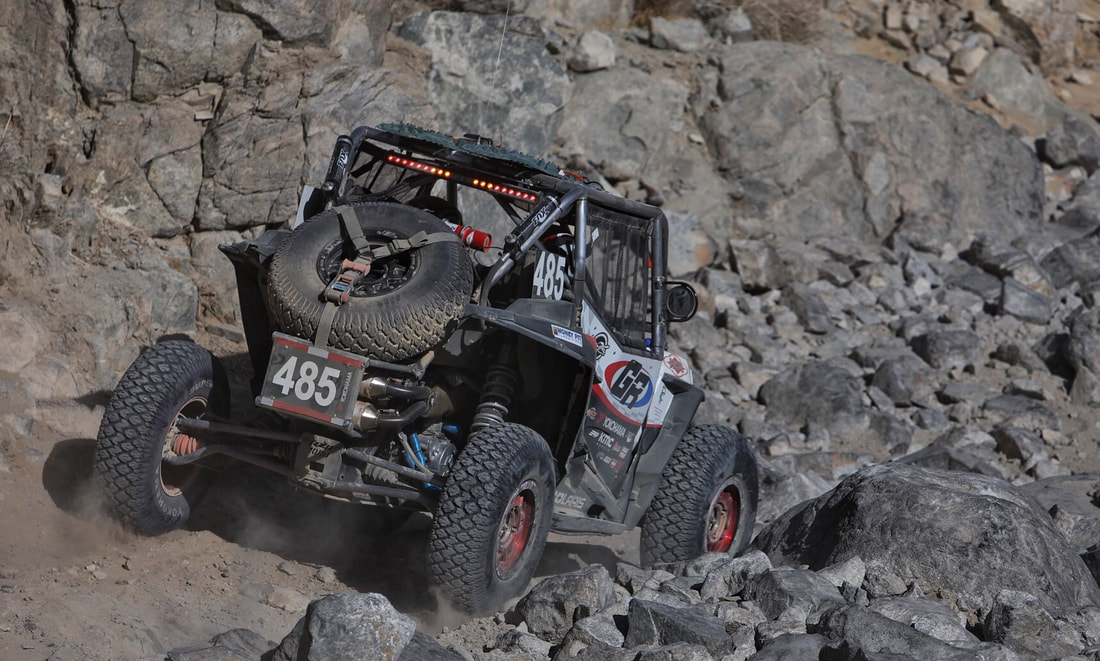
Introduced at SEMA 2018, S&B filters caught our eye with a new and innovative product that desert racers and recreational wheelers that ride in dusty environments both could benefit from. Filtering 99.38% of dust without a traditional filter, S&B has changed the game for helmet air pumps.
The S&B product is one of the easiest installs we here at UTV Revolution have done. Wiring is not considered this installer’s strong suit, but the manufacturer has taken all the guess work out of it and the product can easily be installed in under an hour with just basic hand tools.
The following is shown being installed on a Polaris RzR, however these same steps can be used on generally any UTV or full size vehicle. S&B makes different mounting systems for different vehicles, depending on roll bar tubing size. Choose the tube adapter size you need and installation will be a snap.
First, you will want to test fit the helmet air pumper main unit in your planned install location just to make sure there are no interference issues and that the pumper can sit straight up and down with the exhaust fan pointing straight down. Once you have found a good location, mount on the tube adapters and the mounting brackets. Keep these somewhat loose until after you mount the separator itself. You will use the large allen head bolt, a larger washer and lock nuts for the clamps and a larger allen head bolt and washer for the mount itself.

Next, install the bracket onto the helmet air pumper. Use two smaller allen head bolts, washers and blue locktite for this step. Then mount the brackets to the separator as shown in the picture below with a larger allen head bolt, washers and blue locktite. Tighten the full assembly, using blue locktite on the previously installed bolts.

There are two deutsch style connectors that connect from the wiring harness to the helmet pumper. Go ahead and connect these now and run your wiring towards the dash. There is not a particular side that each connect needs to go to, so just connect them in the way that is most convenient for you.

The final step is to connect the wiring harness to the supplied helmet particle separator switch. Each wire is clearly marked to the corresponding number on the back of the switch it is supposed to connect to. Then run your positive (red) and ground (black) leads to your power source and your installation is complete and and you now go out and have clean fresh air with the push of a switch!


