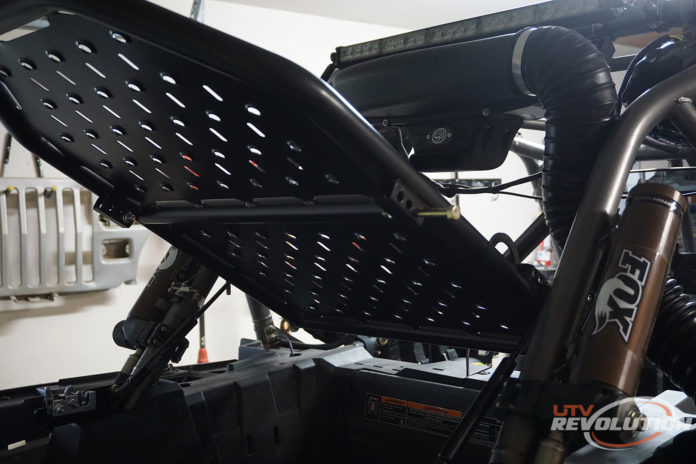
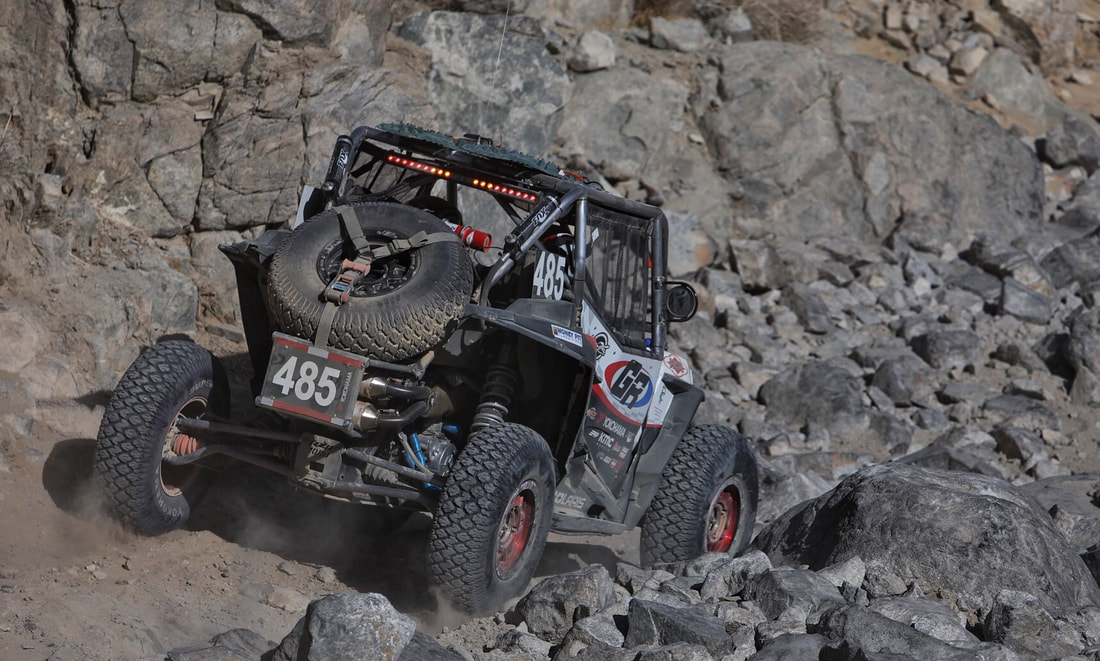
The Assault Industries Adventure Rack goes beyond the average tire carrier of many manufacturers on the market. The versatility of the Adventure Rack allows for storage underneath the rack system with enough room for some coolers and tool storage solutions while being able to hold up to a 32″ tire. The rack will fit on all 2014 to 2018 XP 1000 models and 2016-2018 XP Turbos with stock cages and most aftermarket cages that use factory placement for the harness bar and factory style rear down bars.
We found the Adventure Rack to be a fairly painless install and documented our steps along with the way to help those interested in the rack system install this great product on their own machines.
We found doing a little bit of pre-install assembly helpful versus attempting to put some of the pieces on the product further along in the installation as shown in the manufacturer produced installation video.
First you will want to assemble the pivot mounting brackets to the main rack body with the provided bolts and plastic washers. The washers are meant to be used as a non-abrasive sliding mechnism on the pivot mounting bracket, so be sure to mount them between the narrower main body bracket and the wider cage mount bracket.

Next, you will want to install the latch assembly to the cage mounting bracket with the provided hardware in the kit. Do not tighten at this time because you will want to have slight adjustments on this piece later in the installation. Also note that later in the assembly process that it is extremely important not to over-torque the nuts and bolts of this assembly as well since it is made up of 1/8″ steel that is sandwiching plastic pieces. If you over-tighten it, the latch release will not move freely or it will stick.

Attach the assembled bracket and latch assembly to factory or aftermarket down bars. Two bolts hold the c-pillar in place. Remove those and sandwich the bracket at this time. It may be helpful to remove the shock reservoir body out of the way if you have earlier model RzRs or aftermarket coilovers with a cage mounted res. Do not tighten at this time because you will want to adjust these brackets to that the striker on each side hits at the same time.

Next, you will want to flip the main rack assembly upside down and attach the striker bolt. There are three different holes where the strike bolt can go. Depending on your latch assembly, angle that you want the rack, etc will determine which hole you will need to put the striker bolt into. For our installation, the hole closest to the front of the rack worked best. The first tricky part of putting everything together is that the bolt will go through two nuts. One is on the inside of the mount and one is on the outside acting as a jam-nut. You will need to use a flat head screwdriver to keep the inner nut from turning as you tighten the outside one.

We next want to move on to installing the main rack onto the vehicle. Assault Industries provides two pivot caps, one for each pivot arm assembly. Use one allen head and bolt in the middle holes of each pivot cap and arm to ease keeping the assembly in place, just finger tightening for now. Once the two allen heads are secured, do the same for the other four bolts on each side. Do not tighten completely at this time so that you can make final adjustments later.

At this point, you will want to test fit lowering the rack down into the latching system and making sure the striker bolt is close to fitting into the assembly. Once you are happy with those adjustments, you can go ahead and tighten the latch assembly, the cage mounting bolts along with the pivot arm assemblies.
The final step is to install the gas struts onto the Adventure Rack. You have options here as well as far as how high you want the rack to go. There are two holes for the struts on the latch assembly and there are three holes on the main body of the rack itself. This is totally up to your preferences and the configuration of you machines if you have any accessories attached to your down bar, such as a fire extinguisher. You will want to verify there are no interference issues and adjust accordingly.
Remove the clips from each end of the strut and insert the ball socket studs with each stud pointing 180 degrees from each other. Reattach the clips and then mount them to the latch assembly and rack assembly with the provided washers and nuts and your installation is complete.


Once everything is installed, do one final test to make sure everything moves freely up and down and that there are no interference issues. If everything looks good, attach your spare tire or mount other accessories like a cooler on top of the rack and head out onto the trails!


Once final note is that on our installation, we are using aftermarket Fox Podium RC2 coilovers on our UTV. The billet brackets that attach the reservoir body to the cage caused interference issues, so we used a spacer on the lower ball socket studs to space them out so that they would clear. Half inch aluminum spacers worked great for us, but stacking washers here will also work.


