RzR owners looking to get the most performance out of their UTV have a lot of options on the market. From programmers, performance exhaust systems, clutch tuning kits and more, the aftermarket continues to deliver many options to increase the performance of the machine.
However, regardless of what modifications are done to any vehicle, it will never be able to take full advantage of those upgrades if it isn’t receiving enough air. The Frogskinz pre-filters that comes stock on a Polaris RzR work just moderately well in keeping dust from reaching the intake filter. In dusty environments, they clog up quickly decreasing performance. In muddy environments, the pre-filter gets covered and chokes off air going to the intake resulting in major power losses.
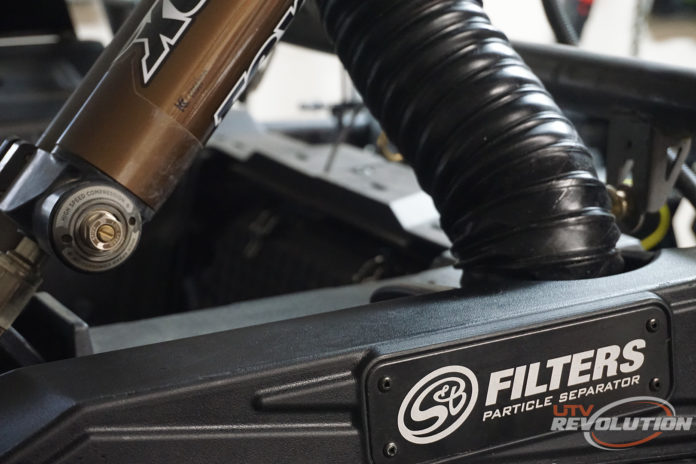
S&B has a solution for the problem with their particle separator system and UTV Revolution is here to guide you through how to install the product on your Polaris RzR XP 1000 or Polaris RzR XP Turbo.
First you want to pick your mounting location. The included roll bar straps that come with your kit will fit on any stock or aftermarket 1.75″ cage. Many that run in the desert install the S&B product above the roof line, however in areas where trees and other low hanging objects can damage your new product, we highly recommend mounting it below the roof line. You can do this either by mounting it hanging down from the top cage bar or up from the lower harness bar. The fan will still pull plenty of air for your engine in either location.
Mount both straps in the location you have chosen and then loosely install the pivot body with the larger allen head bolts, washers and locknuts. You do not want to tighten completely at this time because you will need to make adjustments to positioning on these later.

Use a cloth or piece of thick plastic to help prevent your cage from being scratched up by the straps.

Next, there are a set of adapters that attach the main body of the particle separator via two smaller allen head bolts and washers on each side. You will want to make sure you use the provided blue locktite so that the bolts don’t back out. Also, you will want to tuck the wiring from the main body into the retention molding at this time.


Next you will want to install the “L” shaped brackets onto the adapter brackets using one of the larger allen head bolts and washers on each side, once again using locktite. Each “L” shaped bracket has a dial cut into it that meshes into the dial cuts of the adapter bracket. These will need to be in the same position on both sides. If you are mounting your straps and bases straight up and down, it is okay to go ahead and tighten the “L” shaped brackets down completely at this time. If you are mounting them at an angle, you may want to keep the “L” bracket somewhat loose to adjust to your final angle. Just keep in mind you will want the exhaust of your particle separator coming straight out on a plain. Mount the full assembly to the straps and pivot body at this time using locktite. Once you have everything where you want it, fully tighten all hardware at this time.


Next you will want to remove the stock pre-filter. Depending on your RzR model, these will either have butterfly bolts or torx bolts holding them down. Simply remove this one bolt and pull the pre-filter up to remove it on XP 1000 models. On XP Turbo models, there will be a second torx bolt towards the rear. Remove this bolt as well and you can now remove the assembly.


You will now have access to the rubber air inlet on your machine. S&B provides an adapter and hose clamp to insert in this inlet to install their hose connector to the particle separator. After tightening down the adapter, next slide the duct tube with the additional hose clamp over the adapter and tighten it up as well. The duct tube will be long, so at this point, route the tube where it is out of the way and won’t cause any interference with other accessories you have and measure a few inches past where you want to cut it. Cut all the way around the fabric with your cut being in the middle with the hose stretched so you can tuck it if you want a cleaner look when you go to put it back on. Use wire cutters and your tube is now cut to length.

Next you will want to install the provided hose cover for a cleaner look with the provided hardware that S&B provides. The molded assembly is thicker than the stock piece that was removed, so they provide longer hardware. Once again, on the XP 1000 models, there is only one bolt. With the XP Turbo, use the other bolt in the rear.


Finally, we next run the provided harness to the battery, the particle separator and a hot wire that only comes on with the key. The way the harness is set up, S&B recommends running this to your running lights. They include an easy to use quick splice that requires no tools to accomplish this.


Double check all your connections and make sure all bolts are tightened down and then you can enjoy longer life and increased performance from your air filter system!


[…] installation and operation of the S&B system is very simple. Wiring is ridiculously easy, even for those like […]